10 Quick Fixes: Slow Computer
How to Fix Your Slow Computer
Slow computers are one of world’s greatest frustrations. It always seems to happen when you are in a rush and simply need to pop onto your computer when you end up waiting ages just to do the simplest operation. But how do you go about fixing this? Most people think that the choices are very limited and range between spending £100s on buying another computer or paying a little less money getting someone in to fix it and leaving you temporarily without a computer. But surely there is a way around this, something we can do ourselves which will make a small difference if nothing else? Well there is a series of options you can try that have a high success rate, 10 of which we are going to show you how to do right here, right now.

1. Restart your computer
Number one is the simplest option and one that has become a bit of a joke within IT support. It is to restart your computer, as easy as that. Too many of us leave our computers on for days if not weeks on end something that is not good for our computers. Our computers store so much temporary data that we do not need and which gets erased if we just turn off our computers. If you have not turned off your computer in a while a simple reboot would fix a large proportion of slowness. The engineers at Lucidica recommend turning off your computer (the desktop and the monitor!) every time you have finished using it. However, at a push, a weekly reboot would be substantial.
2. Uninstall Unused Programs
The same as anything in life, if it has no use to you, get rid of it. Old, standardised or simply unused programs take up space and can even be running in the background or starting up with your computer without you knowing. Regardless of their status, they are taking up space and time so they need to go. Click onto Taskbar> Settings > System > Apps and Features. You can then uninstall any programs you do not use from there by simply clicking on the program and then uninstall. Most of the programs are self-explanatory and you should automatically know if you use them, but if in doubt just google what it is and check that it is not necessary.
3. Defragment your Hard Drive
Defragmenting your hard drive basically means re-organising all the data on your hard drive, making it easier for your computer to find what it needs. You should do this after you have removed any junk or bad files from your hard drive. To do this go on the Taskbar > type Defragment and Optimize drives > Select your Hard Drive> Analyse. Then on the status column it should tell you how much of the drive is fragmented. The percentage is best when it is underneath or around 5%. If it significantly higher, you might want to defragment it. To do so simply click Optimize. When this is done, it should say that your status is 0% fragmented. It is recommended to do this when you do not need to use your computer as it increases efficiency but could take some time.
4. Update Hardware Drivers and Windows
It is essential that everything is up to date on your computer and that it is using the manufacturers latest drivers. Updates can speed up and fix certain issues with your hardware as sometimes older versions have problems processing and loading, consequently slowing down your computer. To update the hardware drivers, go to Taskbar > type Device Manager > Right Click on your device > Update Driver Software > Search Automatically for Updated Driver Software > Install. Sometimes it might not initially appear, if so you can reinstall the driver by right clicking on the device and select Uninstall. Then when you restart your PC, Windows will attempt to reinstall the driver. Secondly, by updating Windows you are protecting your computer from viruses spreading and malware. To check which Windows, you have and if it is up to date go onto the Control Panel and the Windows Update Feature and set it to automatically download and install updates or set a reminder to do it yourself. This is the best way to stay protected and make sure your computer is running in the best way possible.

5. Empty Recycle Bin and Temp Directory
Clearing your recycling bin and temp directory is important because it takes up storage space and makes your computer work harder to find files and information. When you try and clear your files to save space Windows worries you might have done so accidentally and keeps them in the recycling bin. The same goes for the temp directory who saves your log of used files. To clear your recycling bin simply click Taskbar > type Recycling Bin > Shift + A > Delete key. To clear your temp directory all you need to do is go on Documents > type This PC > Drive C > Users > Your Name > AppData > Local > Temp > Shift + A > Delete. This should then leave both folders empty, if a few will not delete it is not a problem they are normally such an insignificant size it is fine.
6. Physically Clean Your Computer
Your computer needs external cleaning as well as internal cleaning! Dust and dirt can physically get inside the computer through the keyboard and screen itself. This dirt and dust can restrict airflow and affect how the computer cools down with the hotter the computer is the slower it will be and the more damage it will do. To find out the safest and best way to clean your computer click here.
7. Disable Start Up Programmes
Starting up a computer takes longer dependent on how many programs are set to start when you turn it on. It is not obvious what programs open when you turn on the machine. It requires looking in settings and individually disabling each program that you do not want to open when you turn on your machine. For a more in-depth description click here. You should see an almost immediate difference in your start up time.
8. Windows Disk Clean Up
The Windows disk clean up finds old backups and temporary files that you no longer need and deletes them to give you even more space on your hard drive. To do a disk clean up simply go onto your Documents > Devices and Drives > your Device > right click Properties > Disk Clean-up. This should clean up your device and make everything run that little bit smoother.
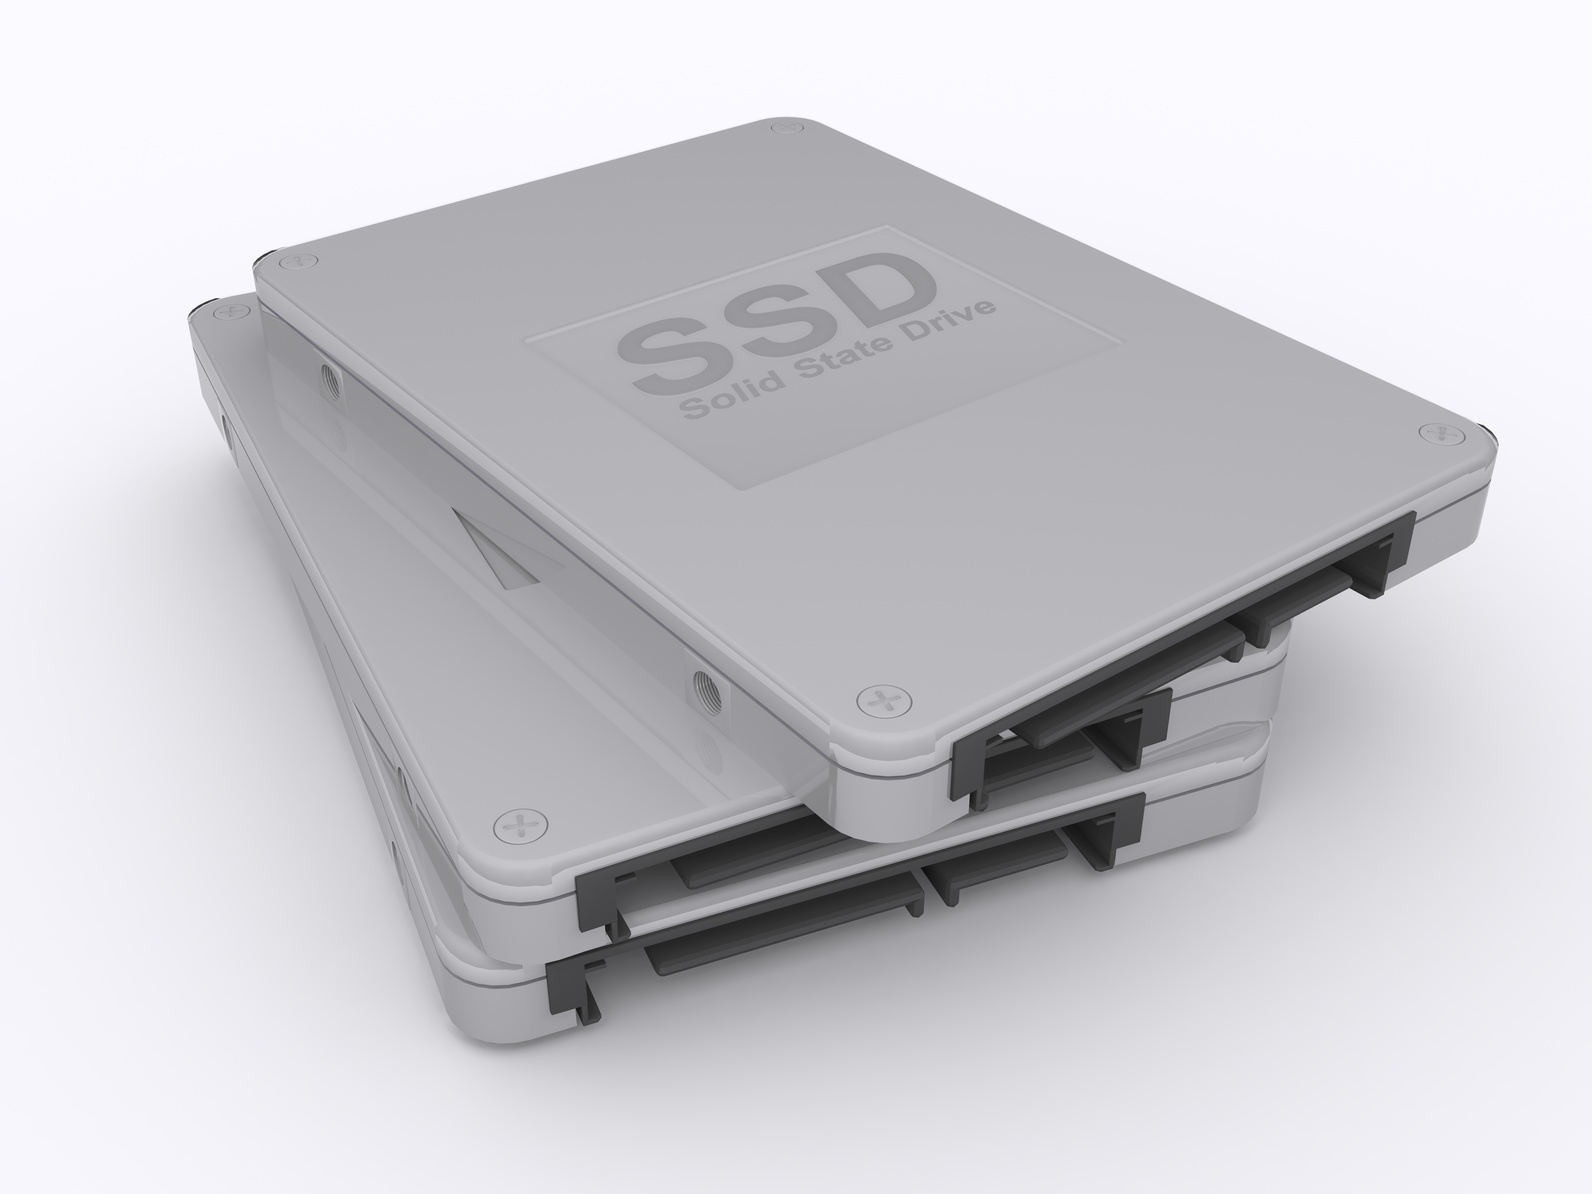
9. Upgrade to an SSD
Upgrading to an SSD involves replacing your regular hard drive with a solid-state drive, but unlike the options above, cannot be done in a couple of minutes by changing your settings. However, this is a really popular option and makes your computer run like new. Programs and files will launch and loads faster and if you have a noisy computer you’ll even notice that it will get quieter! However, It is important that you check to see if your Windows license is transferable/extractable/inclusive to new SSDs otherwise you will have to factor in the price of a new Windows license on top of the new SSD. Apart from that, swapping the drives is relatively easier and in recent years purchasing SSDs has become a lot more affordable than previously with many upgrading their SSD instead of their computer. For a breakdown of what to look for when purchasing a SSD click here.
10. Increase the RAM you have
RAM stands for Random Access Memory. You will have seen different amounts of RAM when looking at ranges of computers to buy, anything from 2gb to 64gb of RAM can comes with your computer or be bought as an add-o. However, on average most computers hold a maximum of 16GB of RAM. But it is also important to remember that RAM is different from general storage which will generally be a lot higher. RAM is temporary storage memory which is used when you are using a plethora of programs all at the same time- the more programs you use the more RAM you need. If you don’t have a sufficient amount of RAM then your computer will become increasingly slower. To find out whether you have enough RAM see how long it takes to process large files, the longer it takes the more you need RAM. To check statistically how much RAM you are using simply press CTRL + SHIFT + ESC. Then on task manager > performance and at the top next to memory it should detail the percentage of RAM you are using. You can add RAM by adding external memory or buying completely new internal memory if you would prefer. Normally around 4GB is about enough RAM for the majority of people but it is completely dependent on what you use your computer for.
Conclusion
There we have it. I hope you find these tips useful and none of them are too daunting. If these don’t work, then it may be more to do with your internet connection or a more complex issue where professional IT support is recommended.
Lucidica provides London based IT support for businesses